This is something I gave you the option of starting last lesson, if you were feeling a bit brain-tired with the ideas pages. Only two brave souls took me up on that. Well done Monique and Jordana for toughing that one out.
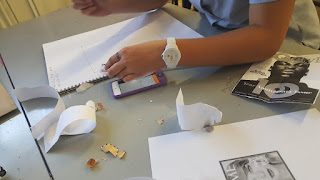
Below are some photos we took while the two girls were working.
The idea is you are enlarging and scaling your image up, and behaving like a human photocopier. There are three images you can choose to work from.
-
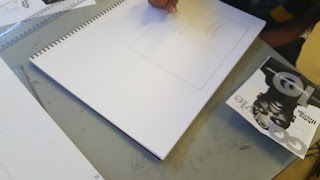
Centre lines: Trim image to the very edges and fold into 4 perfect quarters
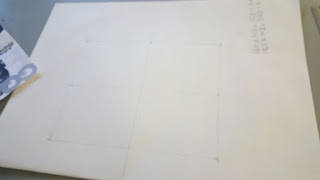
- Measure the image in
millimetres. Use a calculator or device and multiply those numbers by
1.2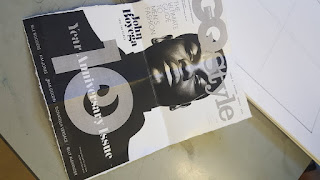
- Draw a rectangle form on your page with the sums you got by multiplying by
1.2.
For example: we measured the original image to be 145 mm across and 185mm down.
145 x 1.2 = 174
185 x 1.2 = 222
Centre lines: Then, you need to divide your larger rectangle into 4 even quarters, carefully. Mark both edges as you measure before ruling up your centre lines.
The
centre lines on your original image you are making a transcription of and on your drawing page are your references to get things right. Everything you now draw should hopefully be 1.2 times larger than the original.
Draw lightly in getting your image mapped out and use a ruler as you need to. Your eye will get better and better at getting things in the right place.


